3. Create test plans
A test manager defines test plans that will be perfromed by the testers.
In this step, the test manager adds the test units and test cases that he needs tested for the respective test plan.
Then, the test manager defines the access permissions for the testers in the test plans and test folders.
4. Perform tests
A tester performs the tests that are defined in the test plans he has access permissions for. He or she executes the test plan case by case.
For each case tested, the tester documents the test result as written text as well as by setting a test result (status).
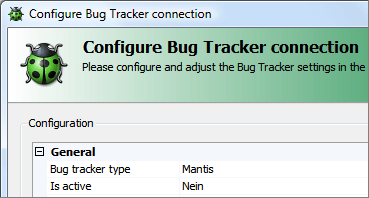
Optionally, the test result can be transfered to an external error database which allows the developer to correct the error found.

Click for full image
5. Evaluate test
The test or project manager uses a cumulated status overview ("traffic light colors") to see the result of a test run or a test plan.
In addition, detailed reports can be displayed and then exported in the usual formats (Microsoft Office Excel, Microsoft Office Word, Adobe PDF).
6. Repeat test
Repeat steps 4 and 5 until the test manager or project manager is satisfied with the result.


